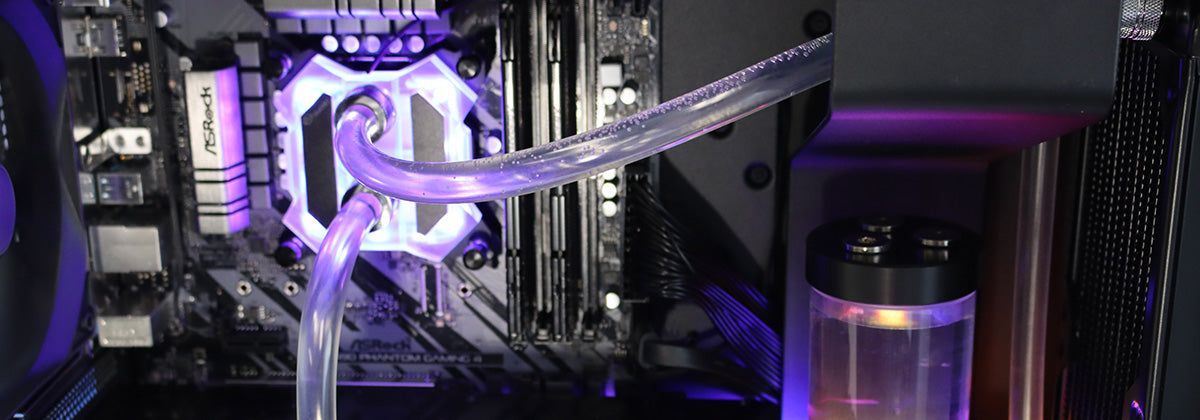
Bubbles in your computer coolant? That can be a problem for cooling your high-performance gaming machine.
Choosing the best liquid coolant is critical for ensuring the highest performance of your PC. An often overlooked property of your computer coolant, the tendency to foam when shaken, is essential to consider. Foaming is an indicator of the likelihood of bubble formation in your system.
So, you have chosen to use liquid cooling in your PC mod to reduce the temperature of your processors and max out performance. After meticulously planning the cooling system, now comes the choice of coolant. They're all the same, right? Well, not exactly. Aside from the obvious colour difference, the choice of coolant can impact performance.
One property of vital importance, but rarely considered, is the tendency of the coolant to foam when shaken, particularly if the foam remains for an extended time. Foaming is an indicator that bubbles formed throughout the cooling loop will persist.
Bubbles in computer coolant, in the tubing, pump and waterblocks reduce flow. Most importantly, however, bubbles over the cold plate where heat transfer from the processor to the liquid occurs lead to a big problem: your highly designed and expensive liquid cooling system reverts to an air cooling system.

Why do bubbles form in the liquid cooling system?
Whether you have a DIY liquid cooling loop for your computer or an AIO cooler, bubbles will form but usually don't stick around. Dissolved gas in the cooling liquids becomes insoluble with changing temperature leading to the formation of a bubble, usually on surfaces.
The hotter the surface is, the more likely spot for a bubble to nucleate. And where is the hottest part of the cooling system? Above the processors!
Air trapped on the micro fin cold plate results in a hot spot and a point of failure leading to corrosion, not to mention poor heat transfer and cooling of the processors.
So how do I test my coolant for foaming?
There are no standard tests for the foaming of liquid formulations. There are, however, relatively simple methods for testing your coolant for computers.
Simply shaking the coolant in a container for 20 seconds is usually enough. Most formulations will initially foam, but all bubbles should disappear after a further 60 seconds.
After you have filled your cooling loop, check your tubing after some serious gameplay. If you see some bubbles formed there, it probably means you have bubbles elsewhere too.
Monitoring your GPU and CPU temperature is also a great idea as sudden rapid increases can point to excessive air in your system. Any unexpected thermal throttling can also help diagnose trapped air and bubbles.
So, when performance matters, consider all the properties of the coolant, including foaming.
Go Chiller liquid coolant has been designed with low foam, making filling easier and reducing the formation of bubbles throughout your cooling loop.
Check out the results of our foaming test with Go Chiller Original and five leading competitors.
